Creative
DIY Upholstery Repair: Fixing Chairs and Sofas at Home
Author: Daniel Brooks

There’s something deeply unsettling about a favorite armchair or sofa showing its age. A frayed corner,
a sunken cushion, or a stubborn stain can feel like a betrayal—a reminder that even the most cherished
objects are subject to wear. Yet, for many, the thought of reupholstering furniture evokes images of
costly professionals or intimidating workshops. But what if I told you that restoring a chair or sofa to
its former glory is not only possible but deeply rewarding?
Perhaps it’s time to reconsider the art of upholstery repair as more than a chore. It’s a quiet act of
preservation, a way to breathe new life into pieces that hold memories. As one furniture historian
noted, “The stories our furniture carries are often as layered as the fabric covering them.�?/p>
Why Bother with DIY Upholstery Repair?
Let’s start with the obvious: cost. According to industry reports, the average price of professional
reupholstery can range from $500 to $2,000 per piece, depending on complexity. For many households,
that’s a prohibitive expense. Yet, the alternative—discarding a worn-out sofa—carries its own costs,
both financial and environmental. The Environmental Protection Agency estimates that furniture accounts
for nearly 10 million tons of landfill waste annually.
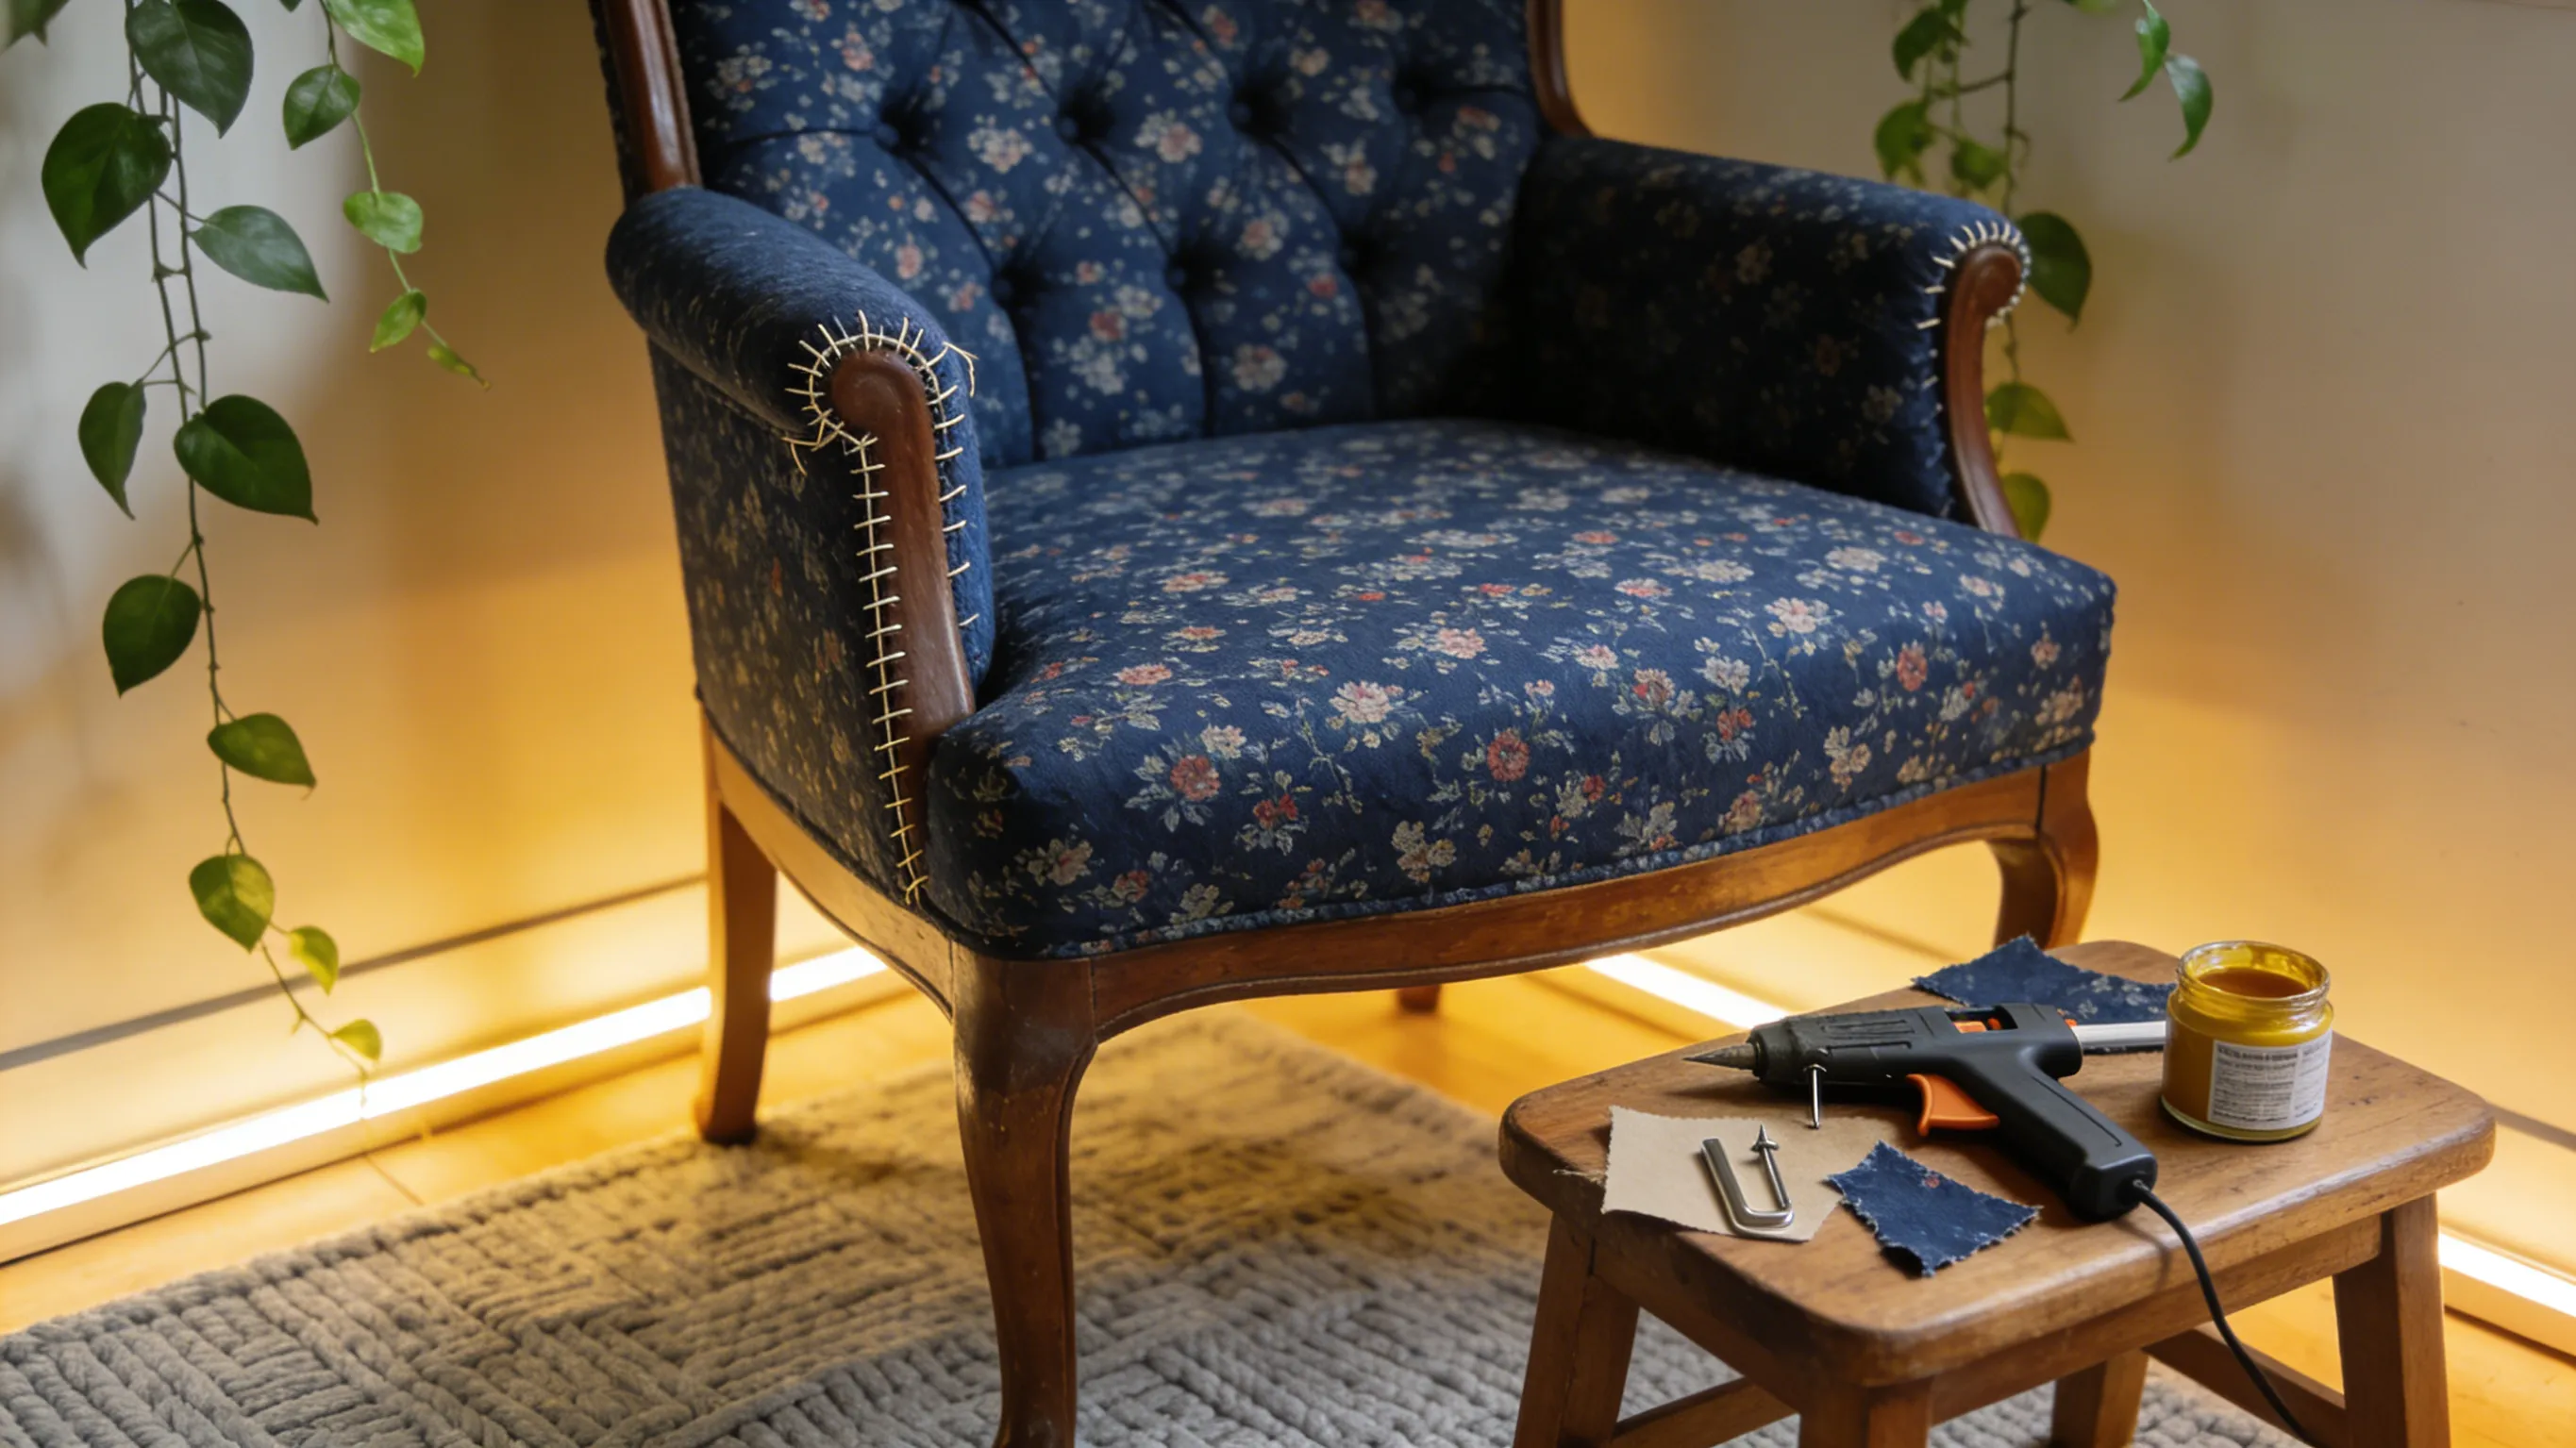
But there’s another, less tangible reason: emotional attachment. I recall a client, Sarah, who inherited
her grandmother’s wingback chair. The fabric was faded, the padding flattened, but the chair’s
silhouette was unmistakably tied to childhood memories. “It felt like losing a part of my family’s
history,�?she confessed. With some guidance, Sarah learned to replace the webbing, reinforce the frame,
and select a durable yet elegant fabric. The process, she said, felt like “stitching the past into the
present.�?/p>
The Tools You’ll Need
Before diving into the deep end, it’s essential to gather the right tools. A well-prepared workspace can
transform a daunting task into a manageable one. Here’s a basic toolkit:
- Staple remover and needle-nose pliers
- Upholstery stapler and staples
- Fabric scissors and a durable utility knife
- High-density foam and batting for cushion replacement
- Upholstery needles and heavy-duty thread
- A rubber mallet for frame adjustments
Some experts, like those at the Furniture Craftsmanship Institute, recommend starting with a small
project—a dining chair or footstool—to build confidence. “Mastering the basics,�?they argue, “lays the
foundation for tackling larger pieces.�?/p>
Step-by-Step: Breathing Life into a Chair
Let’s walk through the process of reupholstering a simple dining chair—a project that balances
complexity with accessibility.
1. Deconstruct with Care
Begin by carefully removing the old fabric. Turn the chair upside down and locate the staples securing
the dust cover—the thin fabric layer beneath the seat. Peel it back, then work your way upward, using
the staple remover to gently pry fasteners loose. Avoid rushing; tearing the fabric or damaging the
frame can complicate the process.
As you remove layers, take photos or notes to document the original construction. This step, often
overlooked, can save hours of frustration during reassembly.
2. Assess the Frame and Padding
Once the fabric is removed, inspect the frame for stability. Tighten loose joints with wood glue and
clamps, and sand down any rough edges. If the padding is flattened or lumpy, replace it with
high-density foam cut to size. Some DIYers prefer natural materials like horsehair or cotton batting for
their breathability, though synthetic options tend to be more affordable and durable.
3. Cutting and Fitting New Fabric
Lay the old fabric pieces flat and use them as templates to cut the new material. Leave a 2�? inch
margin on all sides for folding and stapling. When positioning the fabric, start from the center and
work outward, pulling it taut but not overly tight. As one seasoned upholsterer advised, “Fabric should
hug the frame like a well-fitted suit—snug, but with room to breathe.�?/p>
4. The Art of Stapling
Begin stapling at the center of each edge, moving outward in alternating directions to distribute
tension evenly. Corners are often the trickiest—fold them like gift wrap, creating clean, tight pleats.
For curved surfaces, make small relief cuts in the fabric to prevent bunching.
5. Finishing Touches
Reattach the dust cover to conceal the staples and raw edges. If the chair has decorative elements like
buttons or trim, reinstall them with a long needle and strong thread.
When to Call in the Professionals
While DIY projects foster independence, some situations warrant expert intervention. Structural
damage—such as broken springs or a compromised frame—may require specialized tools or knowledge.
Similarly, antique pieces with historical value might need conservation-grade materials and techniques.
As the American Institute of Conservation cautions, “Well-intentioned repairs can inadvertently diminish
an object’s cultural or monetary worth.�?/p>
The Psychology of Repair
Beyond practicality, there’s a growing movement advocating for repair as a form of mindfulness. In an
era of disposable consumerism, fixing something with our hands can feel like a radical act. Dr. Elena
Martinez, a psychologist specializing in environmental behavior, suggests that “engaging in repair work
fosters a sense of agency and connection to our possessions.�?/p>
I’ve felt this firsthand. Restoring a mid-century sofa last winter became a meditative practice—each
stitch a deliberate gesture, each layer of fabric a testament to resilience. The sofa, once slated for
the curb, now anchors my living room, its flaws and all.
Conclusion: The Stories We Mend
Upholstery repair is more than a technical skill; it’s a narrative practice. It asks us to slow down, to
observe, to engage with the material world in a way that’s increasingly rare. Whether you’re reviving a
thrift-store find or preserving a family heirloom, the act of repair weaves your story into the fabric
of the object.
So the next time you notice a sagging cushion or a frayed armrest, pause. Consider the possibility of
renewal. After all, as the Japanese philosophy of kintsugi teaches us, there’s beauty in
embracing imperfection—and power in restoration.